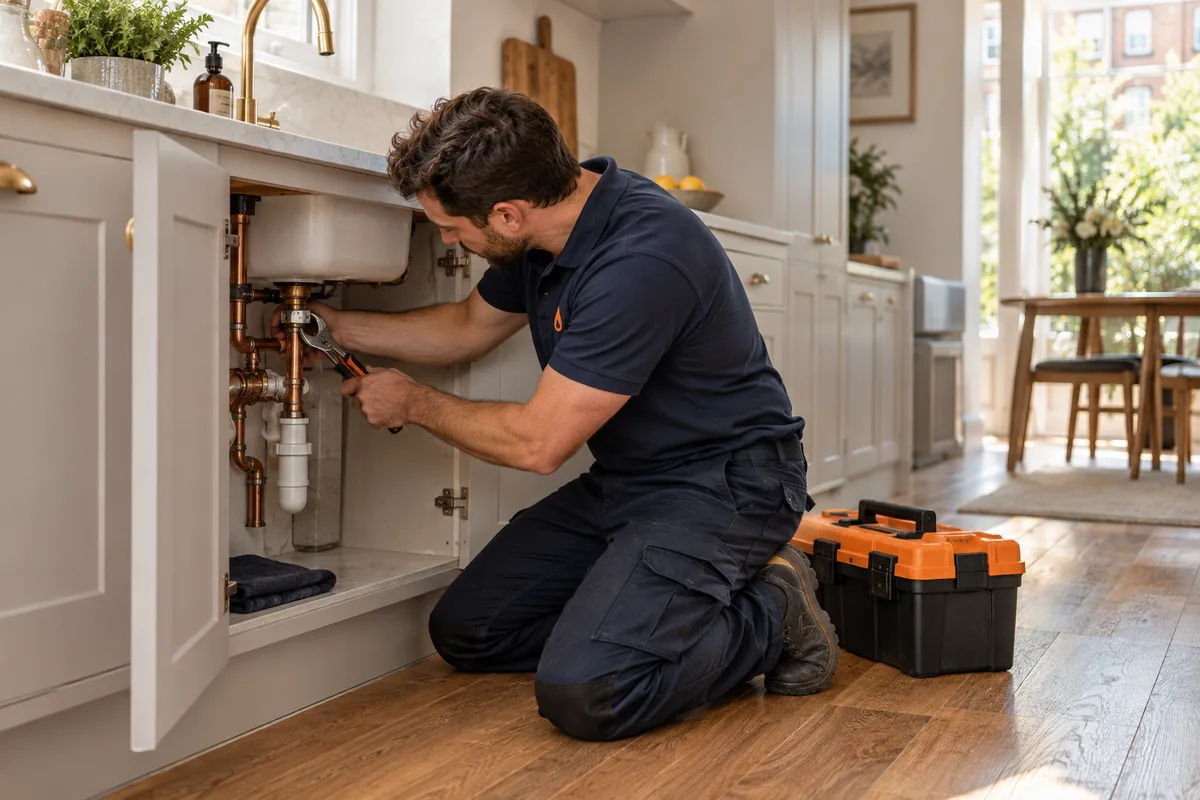
If a lever tap or a quarter-turn tap drips from the spout, the part that has failed is almost always the cartridge, and it is replaced whole rather than repaired. On most taps it is a thirty-minute job with a spanner and a screwdriver. The hard part is not the fitting, it is getting the right cartridge, because they are specific to the tap. Take the old one out first, match it in the shop, then fit it. If your tap has a handle that turns round several times before it shuts, it has a rubber washer instead, and how to change a tap washer is the guide you want.
Which kind of cartridge your tap has
There are two families, and they are not interchangeable.
| Tap | Cartridge inside | How it is matched |
|---|---|---|
| Two handles, each turning a quarter or half turn and stopping firmly | A ceramic disc cartridge in each side, one for hot and one for cold | Thread size, the number of splines on the spindle, overall length, and which way it closes |
| Single lever: up and down for flow, side to side for temperature | One mixing cartridge that handles both hot and cold | Diameter, usually 35mm or 40mm, height, the pattern of holes on the base, and the tap's make and model |
| Thermostatic bath or shower mixer | A thermostatic cartridge | Make and model only. This one is a different job, covered below. |
Ceramic disc cartridges come in pairs that close in opposite directions, so the hot and cold handles both turn towards the middle to shut. If you fit a cold-side cartridge on the hot side, the tap works but the handle turns the wrong way. Mark which side each one came from as you take them out.
What you need
- A replacement cartridge, matched to the old one. Do not buy it until the old one is in your hand.
- An adjustable spanner or a deep socket, plus a second spanner or grip wrench to hold the tap body still.
- A flat screwdriver for the isolation valves, and a small crosshead screwdriver or an Allen key for the handle. Lever taps often use a 2.5mm or 3mm Allen key in a grub screw under the lever.
- A cloth to protect chrome from the spanner jaws, and the plug in the basin so nothing small goes down the waste.
- Silicone tap grease approved for drinking water. Ordinary grease is not suitable on a tap you drink from.
- White vinegar or a descaler, if the cartridge seat is crusted with scale.
How to change a tap cartridge, step by step
- Turn off the water to the tap. Under the basin or sink, look for a small isolation valve on each supply pipe. A quarter turn with a flat screwdriver, so the slot sits across the pipe, closes it. With no isolation valves, turn off the cold at the stopcock, using where is my stopcock if you have not found it before. The hot side is isolated differently on a combi, a cylinder and a tank-fed system, and how to turn off your water supply goes through each.
- Open the tap fully and let it run dry. That drops the pressure and proves the isolation has worked. Put the plug in.
- Take off the handle. On two-handle taps, prise off the hot or cold cap on top and undo the screw beneath it. On single-lever taps, the fixing is usually a grub screw at the back or underneath the lever, sometimes hidden under a small plug. Lift the handle straight up off the spindle.
- Remove any cover. Many taps have a chrome shroud or a threaded collar over the cartridge. Most unscrew by hand. Use a cloth if you need grips.
- Unscrew the cartridge. It has a hexagon near the top. Hold the tap body firmly with one spanner or grip wrench and turn the cartridge anticlockwise with the other. On a single-lever tap it is usually held down by a large brass nut or a threaded ring rather than being screwed in itself. If the tap body turns on the basin, stop and hold it better, because that twist strains the flexible tails underneath and they are the joint that starts leaking into the cupboard later.
- Lift it out and look at the seat. Check the rubber seal on the bottom of the old cartridge and the surface it sat on inside the tap. Clean any scale off the seat with a cloth and vinegar. Do not scrape it with anything sharp.
- Take the old cartridge to the merchant. Count the splines on the spindle, note the hot or cold side, and take a photo of the tap and any maker's name on it. With a single-lever cartridge, the base is the thing to match, as two cartridges with the same diameter can have different hole patterns.
- Fit the new one. A thin smear of approved silicone grease on the seals, then seat it squarely, with any lugs on the base located in their slots in the tap body. Screw it in by hand, then snug it with the spanner. Firm is enough. Over-tightening a ceramic cartridge can crack it or crush the base seal, and it will then leak or stiffen.
- Turn the water back on slowly with the tap closed, then open and close it a few times. Refit the cover and the handle, and check the handle stops in the right place. Then check the spout for a drip and the cupboard underneath with dry kitchen paper an hour later.