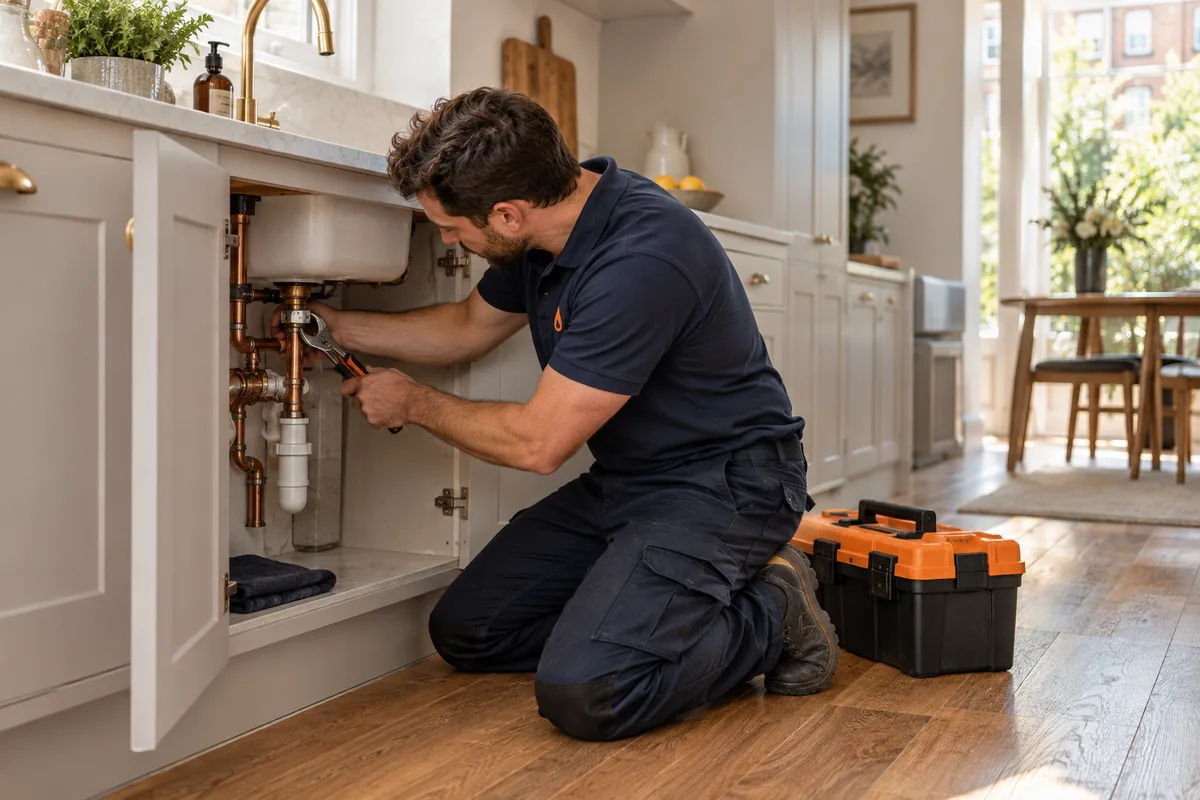
Changing a tap washer is a twenty-minute job on most traditional taps, and it is the right fix when the tap has a handle that turns several times before it shuts and the drip comes from the spout. It is the wrong fix on a quarter-turn or lever tap, because those have a ceramic cartridge instead of a washer. So check which kind you have first, then follow the steps below. If the drip is coming from the base of the tap or from under the sink rather than the spout, a dripping tap explains how to tell the faults apart, because they are not all washer jobs.
Washer or ceramic cartridge: check before you buy anything
| How the handle behaves | What is inside | What you replace |
|---|
| Turns two or more full turns from off to fully on, and gets stiffer as it closes | Traditional headgear with a rubber washer | The washer, and sometimes the seat under it |
| Turns a quarter or half turn and stops firmly | Ceramic disc cartridge | The whole cartridge, matched to the tap |
| Single lever that moves up for flow and sideways for temperature | One mixing cartridge, usually 35mm or 40mm | The cartridge, matched by make and model |
| Older tap where the spout itself turns to open, with no separate handle | A Supatap-style tap with a built-in check valve | The washer and jumper, from the nozzle end |
If you are not sure, take the headgear out first (steps 1 to 5 below) and take it to the plumbers' merchant. Matching the part in the shop is far quicker than guessing and making two trips.
What you need
- A new washer. Half-inch for most basin and kitchen sink taps, three-quarter-inch for most bath taps. A mixed pack is cheap and saves a second trip.
- An adjustable spanner, plus a second spanner or a grip wrench to hold the tap body still.
- A flat screwdriver for the isolation valve and a small crosshead or Allen key for the handle screw.
- A cloth to protect chrome from the spanner jaws, and the plug in the basin so nothing small goes down the waste.
- Tap grease that is approved for drinking water, for the spindle threads and any O-rings. Ordinary grease is not suitable on a tap you drink from.
How to change a tap washer, step by step
- Turn off the water to the tap. Look under the basin or sink for a small isolation valve on each pipe. A quarter turn with a flat screwdriver, so the slot sits across the pipe, closes it. If there are no isolation valves, turn off the cold at the stopcock. Where is my stopcock helps if you have never found it. For the hot tap, how to turn off your water supply covers combi boilers and cylinder systems, which are isolated differently.
- Open the tap fully and let it run until it stops. That drops the pressure out of it and shows you the isolation has worked. Put the plug in.
- Take off the handle. On most crosshead and lever-head taps there is a small cap on top marked hot or cold. Prise it off with a thin blade, undo the screw underneath, and lift the handle off the splined spindle. Some older taps have a small grub screw at the side instead.
- Remove the shroud, the chrome cover over the body, if there is one. Many unscrew by hand. Wrap a cloth round it if it needs a spanner.
- Undo the headgear. This is the large hexagon nut now showing on top of the tap body. Hold the tap body with one spanner or a grip wrench so it cannot turn on the basin, and undo the headgear anticlockwise with the other. If the body turns, you strain the tails underneath, and that joint is the one that starts leaking into the cupboard a week later.
- Change the washer. The washer sits on a small brass piece called the jumper, at the bottom of the headgear or loose in the tap body. It is held on by a small nut or simply pressed over a button. Undo the nut or prise the old washer off, fit the new one the same way round, and refit the nut. If the jumper is badly corroded, replace the jumper and washer together.
- Look into the tap body at the seat, the brass ring the washer closes onto. It should be smooth and even. If it is pitted or has a groove cut in it, a new washer will not seal for long. See the seat section below.
- Reassemble. A thin smear of approved tap grease on the spindle threads, then screw the headgear back in while holding the body, firm but not forced. Refit the shroud and the handle.
- Turn the water back on slowly with the tap closed, then open and close the tap a few times. Check the spout for a drip and the base for any weep, then check under the basin again an hour later with dry kitchen paper.
Changing the washer on a mixer tap
A mixer tap with two separate handles, one hot and one cold, is two sets of headgear in one body. Each side is done exactly as above, one at a time, and you need to know which side is dripping. Run the tap warm, then close it and feel the drip after a minute or two: warm means the hot side. If both sides use traditional headgear, it is worth doing both while the water is off, since they wore out together.
Many modern two-handle mixers, and every single-lever mixer, use ceramic cartridges, so there is no washer to change. The job is the same in outline: isolate, remove the handle, unscrew the cartridge, take it to the merchant and fit an identical one. Cartridges are specific to the make and model, which is why taking the old one with you matters. How to change a tap cartridge goes through matching and fitting one step by step.
If a mixer only leaks around the base of the spout while it is running, that is not the washer. It is the O-rings between the spout and the body, and on a kitchen mixer the water from that fault runs down inside the cabinet rather than into the sink.
Bath taps
Bath taps take the larger three-quarter-inch washer and are otherwise the same, but they are harder to isolate. Many baths have no isolation valves, or they are hidden behind a bath panel. If you cannot find them, turn the water off at the stopcock for the cold, and at the hot isolation point for the hot. On an older house fed from a cold tank in the loft, the hot water comes from a cylinder fed by that tank, and sometimes the cold bath tap does too, so turning off the stopcock alone does not stop them. Check the tap is dry with it open before you undo the headgear.
New washer, still dripping: the seat is the problem
This is the most common reason the job does not work. London water is hard, as Thames Water sets out, and years of scale and flow cut small grooves into the brass seat. A new washer closes onto that damaged surface, cannot seal, and starts dripping again within weeks or months. You have three ways out:
- Re-cut the seat with a tap reseating tool, which grinds the brass flat again. This is what we do on older taps that are worth keeping.
- Fit a seat washer, a plastic insert that sits over the old seat. It is a quick fix that works on some taps and not others.
- Convert or replace. Many traditional taps can take a ceramic conversion kit that replaces the headgear entirely. Past a certain age, a new tap is the better answer.
If water appears around the handle or the spindle when the tap is open, rather than from the spout when it is closed, that is the gland or the spindle O-ring, not the washer. On older taps the gland nut under the handle can often be nipped up a quarter turn to stop it.
Is a dripping tap worth fixing now?
A drip into the basin is not an emergency, but it is water you are paying for if you are on a meter, and on the hot side you are paying to heat it too. If you want to see what yours is costing, reading your water meter shows how to measure it overnight. The autumn is also the time to check any outside tap. A dripping garden tap in November is a frozen and split one in January, and outside taps before winter covers isolating and draining it.
What not to force
- Headgear that will not move. On an old tap, scale can bond it to the body. More force usually turns the whole tap on the basin or cracks it, and then the tap has to come out. Stop there.
- A ceramic tap that has gone stiff. Forcing the handle cracks the discs, and a slow drip becomes a tap that will not close.
- An isolation valve that will not turn. Old valves seize. If it turns but water still comes through, it is passing, and you need the stopcock instead.
When to call someone instead
It is time to hand it over if the headgear is seized, the seat needs re-cutting and you do not have the tool, the tap drips again soon after a new washer, or you find water in the cupboard underneath with the tap off. That last one matters most. Water under the sink with nothing running is not the washer. It is a flexible tail, an isolation valve or the back-nut seal, it is at mains pressure, and it does not stop on its own. A leaking pipe under the sink works through that one.
We repair and reseat taps across London, replace failed tails and isolation valves while we are there, and deal with any damage the water has done to the cabinet or the floor below. We charge £150 per hour, agreed before we attend, with no call-out fee. See water leak repair, or check the pricing page before you call.