The order matters more than the equipment
Every leak detection company in London lists the same technologies. The difference between a two-hour visit and a lifted floor is not which kit is in the van, it is the sequence they are used in and the willingness to say when one of them has nothing to offer.
Step one: prove there is a loss, and size it
The suspect system is isolated and pressure tested. On a heating circuit this means gauging it and watching. On the incoming supply it means the meter with everything off. This step gets skipped constantly and it should not be, because it separates a leaking pipe from a failed expansion vessel, a passing filling loop, a dripping overflow or a shower tray that only leaks under load. It also tells you the size of the loss, which decides which methods can work: a fast loss is audible, a weep is not.
Step two: narrow the area
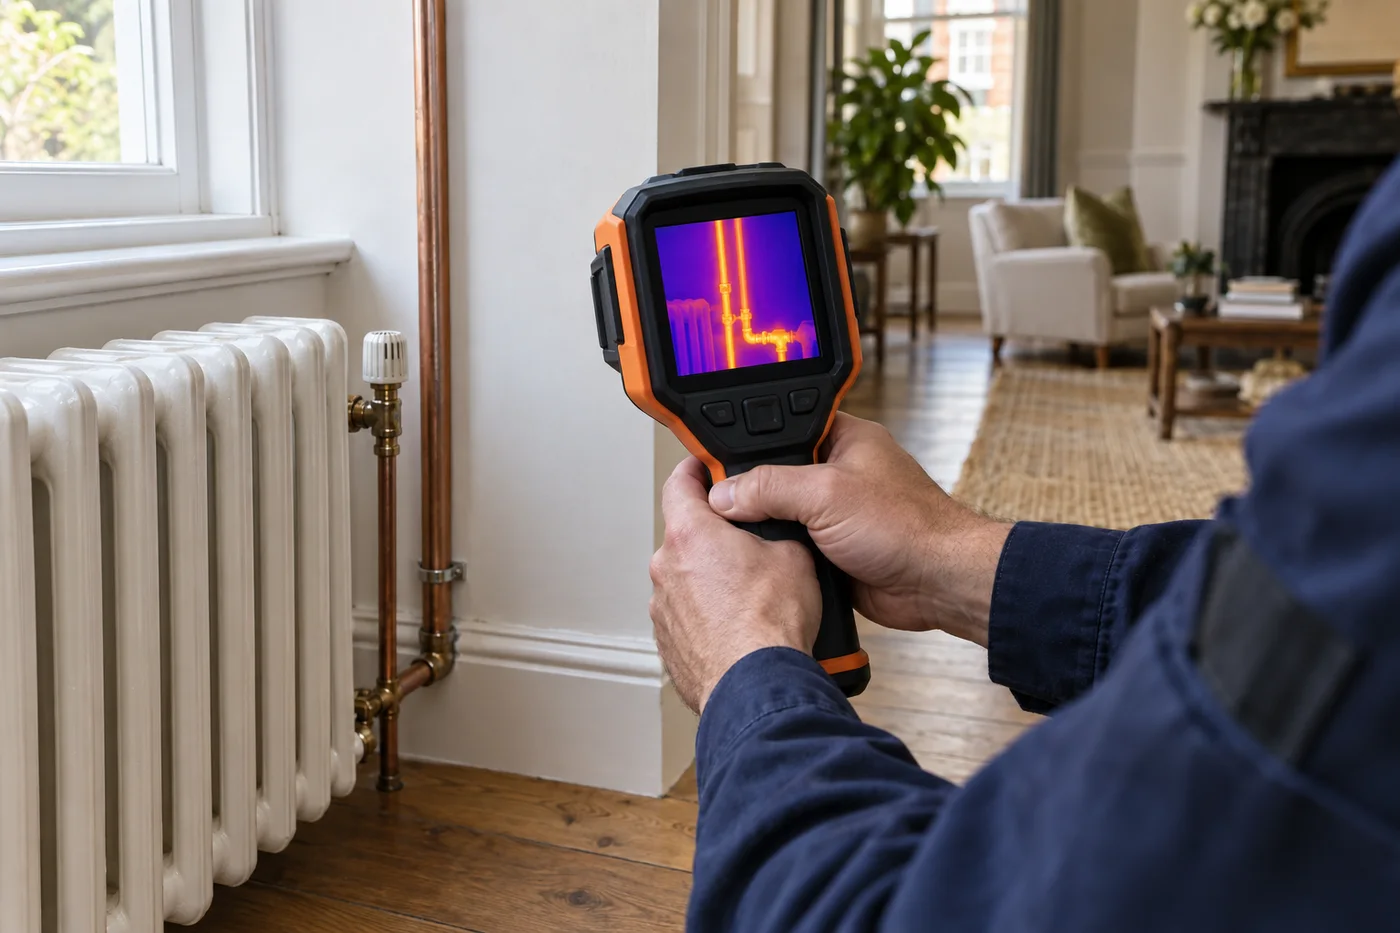
Nothing invasive. A thermal camera across a floor while the heating comes up, or a moisture map of the affected wall, turns a room into a square metre. Neither of these finds the pipe, and neither is meant to.
Step three: pinpoint
On a live, pressurised metal pipe, acoustic detection. On plastic pipe, under screed or concrete, or on a system with no pressure left in it, tracer gas after draining the circuit. This is the step where most of the time goes, and where the two big methods have almost opposite strengths.
Step four: confirm before cutting
A second reading from a different method over the same spot. It costs ten minutes and saves the wrong hole in your floor.
The five methods, side by side
| Method | What it is good at | What defeats it |
|---|
| Pressure and meter testing | Proving a loss exists, sizing it, isolating which circuit | Cannot locate anything; a system that cannot be isolated |
| Acoustic | Pressurised metal pipe, live systems, buried supply runs | Plastic pipe, noisy buildings, anything unpressurised |
| Thermal imaging | Hot and heating pipes under floors, mapping how far water has spread | Cold leaks in cold rooms, depth and insulation, reflective surfaces |
| Moisture mapping | Proving water is present and active, sizing the damage for a claim | Finds water, not pipes; salts and foil backing read as wet |
| Tracer gas | Screed and concrete, plastic pipe, silent and drained systems | Requires the circuit to be drained; gas can surface at a crack rather than above the leak |
What you can check yourself first
- The meter test. Turn off every tap and appliance that uses water, including the boiler and the ice maker, and photograph the meter. Leave it two hours without using water, then photograph it again. Movement means the loss is on your side of the meter.
- The stopcock test. With the internal stopcock closed, does the meter still move? If it does, the leak is between the boundary and the house, which is the supply pipe. If it stops, the leak is inside.
- The pressure test you can do for free. Note the boiler gauge cold, then check it cold again the next day. A drop with no visible wet patch is the classic hidden heating leak. There is more on pressure dropping with nothing to see.
- The dry-and-watch. Dry the damp area completely, tape a piece of kitchen roll over it, and see what happens over a day. It sounds crude and it reliably separates a live leak from a stain left by something that has already been fixed.
When it is not a leak at all
A fair share of call-outs are not leaks, and you should not pay anyone to discover that.
- Condensation. Damp that appears in cold weather, sits in corners and on external walls, and is worst in the bedroom and bathroom. A leak does not care about the season.
- A failed shower seal or grout line. Water below the bathroom only after someone showers, none after a bath, none overnight. That is a sealant job, often one you can do yourself.
- A dripping overflow or tundish. Water outside from a pipe under the eaves or from the wall near the boiler is usually a valve passing, not a pipe leaking.
- Penetrating damp. Wet that appears during and after rain and dries between. Look at the render, the pointing, the gutters and the window seals before anyone lifts a floor.
- Rising damp. A tide mark to a consistent height above the floor, usually under a metre, on a ground-floor wall. Different trade, different fix.
If the meter does not move, the boiler holds pressure and the damp is seasonal, you probably do not need a leak detection visit. We would rather tell you that on the phone.
How long it takes and what it costs
Most domestic leaks are located inside two hours. Detection is £150 per hour, fixed before we attend, and the rate does not rise for a difficult property or an evening visit. The total depends on how long the job takes; the rate cannot change. If we do not find the leak, you do not pay for the time we spent looking. Pricing in full.
The step most London firms stop at is the mark on the floor. We repair the pipe and then put the screed, floor, ceiling or plaster back, which is the half that otherwise becomes your problem to organise. If you are claiming, the detection report is written for a loss adjuster and the access and reinstatement are covered by the trace and access part of the policy.
For two situations that come up constantly, there are dedicated walkthroughs: a leak in a wall and a leak under a concrete floor.