Worcester rarely give you a code for this
People arrive at this page looking for a fault code, and on most Greenstar boilers there is not one. The error code table in Worcester's Greenstar CDi Classic user instructions lists A7, A8, b1, C6, d5, E2, E9, EA, F0, F7, FA and Fd, and none of them is low water pressure. Low system water pressure appears instead in the separate fault-finding table, alongside symptoms like a room not reaching temperature, with the remedy given simply as repressurising the system.
So a Worcester short of water usually just underperforms. The gauge reads low, radiators warm unevenly, hot water may still work on a combi, and there is nothing flashing to tell you why. The gauge is the instrument, and it is worth reading once a month.
The number Worcester give, and why it is the whole diagnosis
Worcester's own support answer is one line and it settles the argument: the pressure in the system will usually require topping up once or twice a year, and if you are having to repressurise much more frequently, contact your installer.
That is the test. Not the reading, the frequency. A sealed system is closed, so a circuit that needs two litres of mains water every month is losing two litres of water every month, and that water is going somewhere.
Repressurising a Worcester, by filling link type
Worcester document three arrangements, and which one you have depends on the model and the installation.
- External filling loop. Two valves, one on the mains cold supply and one on the heating side, joined by a hose. Attach the hose to both sides, open the mains valve, then open the heating valve, watch the pressure rise and close both once it is just over 1 bar.
- Internal filling key. Usually on a flap beneath the boiler, or handed over at installation. Turn the key to the open padlock position to fill, then back, and remove it.
- Keyless filling link. A blue lever at the bottom of the boiler. Pull it down to fill and release it once pressure is over 1 bar.
Do it cold. Worcester's guidance is that pressure should sit between 1 and 1.5 bar with the system cool, and that below 0.5 bar, in the red section of the gauge, water has been lost from the system and must be replaced.
The expansion vessel test, which Worcester give you
Before assuming a leak, watch what the gauge does when the system heats. Worcester's own answer notes that if the pressure rises more than about 1 bar above the cool reading when hot, the expansion vessel may need repressurising by a service engineer.
That pattern is worth learning, because it is a leak impersonator. Pressure spikes high when hot, the relief valve lifts to protect the system, water goes out of the discharge pipe on the outside wall, and the gauge reads low the next morning. You top it up, and it happens again. Nothing is leaking into your building, and no detection visit will find anything, because the fault is a vessel that has lost its air charge.
Where a Worcester system actually loses water
The discharge pipe outside
Check this before anything indoors. A small copper or plastic pipe through the external wall near the boiler, usually pointing down. Damp, dripping or with limescale streaking the brickwork below means the system has been venting through the relief valve, either because the vessel has failed or because the valve is passing on a dirty seat.
Joints you can reach
Radiator valve spindles, tail nuts, towel rail welds, the pipework in the boiler case and any accessible compression joint under a sink or in an airing cupboard. A slow weep on warm pipe evaporates and leaves a white or green crust rather than a drip, so look for the deposit. Worcester's own troubleshooting advice for pressure loss is to check all visible joints including radiator valves and connections for obvious signs of leakage, and it is worth doing properly because it is free.
Buried pipework
If the accessible checks are clean, the loss is under a floor, in a wall chase, or in an underfloor heating circuit. This is where the gauge falls weekly with nothing visible for months, because screed absorbs the water and the warm pipe dries the surface above it. Nail strikes from a previous floor covering and copper laid unsleeved in screed are the two sources we find most often.
Finding it, rather than guessing at it
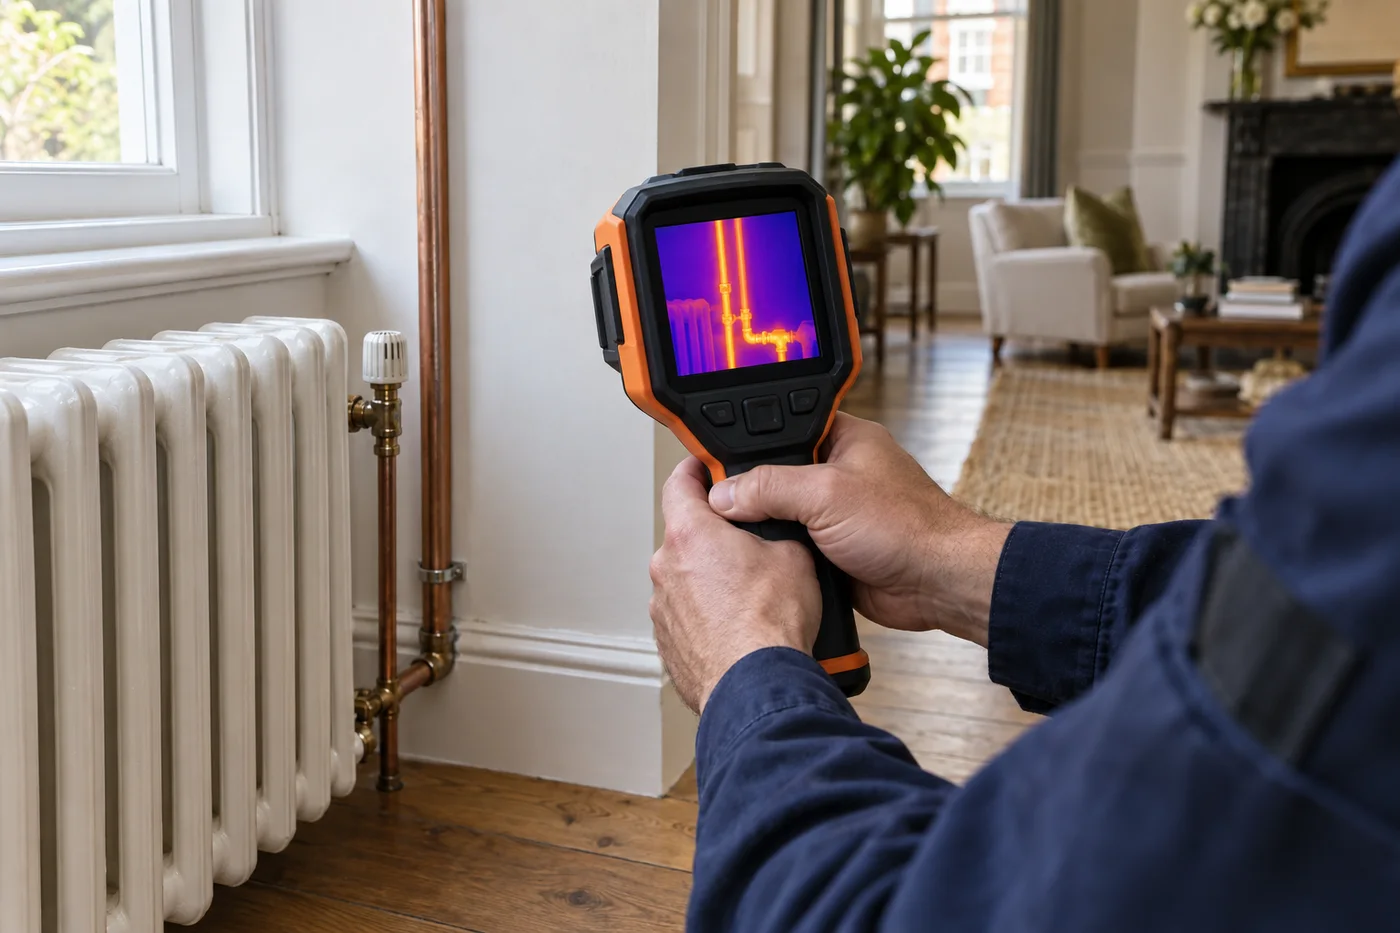
The circuit is isolated and pressure-tested first, which confirms the loss and gives a rate to work against. Then it is traced: acoustic listening where pipework is accessible, thermal imaging to follow the warm run through screed and tile, moisture mapping to show how far the water has already spread, and tracer gas on a drained circuit, which is non-invasive and finds losses that thermal imaging cannot see through depth or insulation. The floor is opened once, at the point the leak is at.
Our rate is £150 per hour, agreed before we attend, and if we do not find the leak you do not pay for the time we spent looking. When we do find it we repair the pipe and then put the floor, screed, plaster or ceiling back, which is the half of the job most detection firms leave with you. There is more on boiler and heating leak repair, radiator and valve leak repair and pricing. If your boiler is also locking out, the EA fault code page explains what Worcester mean by it.